Note: if this option isn't available, it means the government office does not accept autopays.
Log into your account. If you do not have an account, you will need to create a new account.
An account may be created immediately upon arriving to the site clicking the “Login to Your Account” button on the navigation bar. Then clicking "Create New Account".
Alternatively, you can search for your item and you will be prompted to login and create a new account before setting up an automated payment.
How to start the setup process
When setting up Autopay, first you will want to add a stored Payment method.
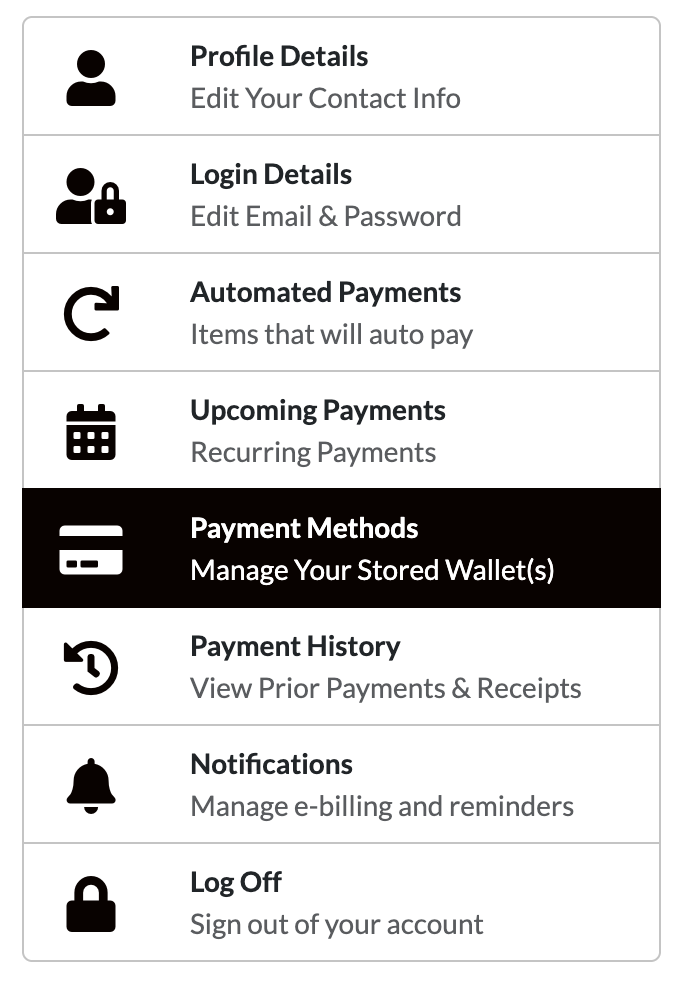
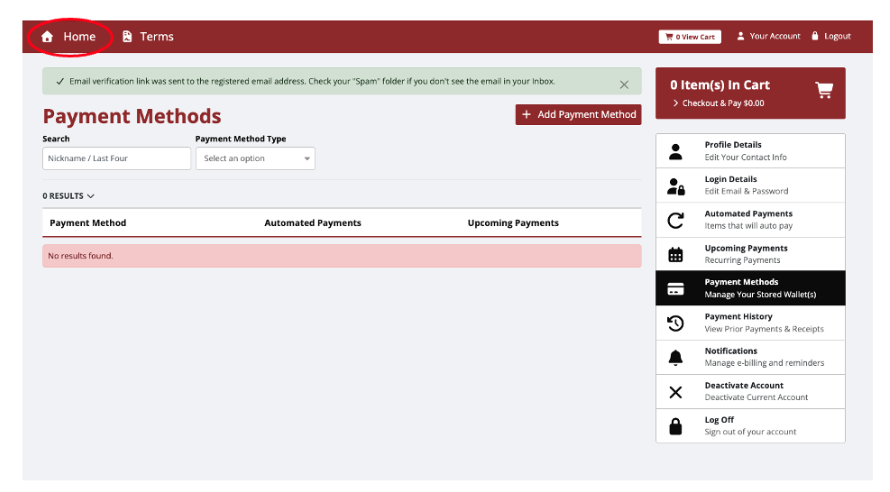
Once you've successfully added a stored payment method, search for the parcel you want your Automated Payment to cover by selecting “Home.”
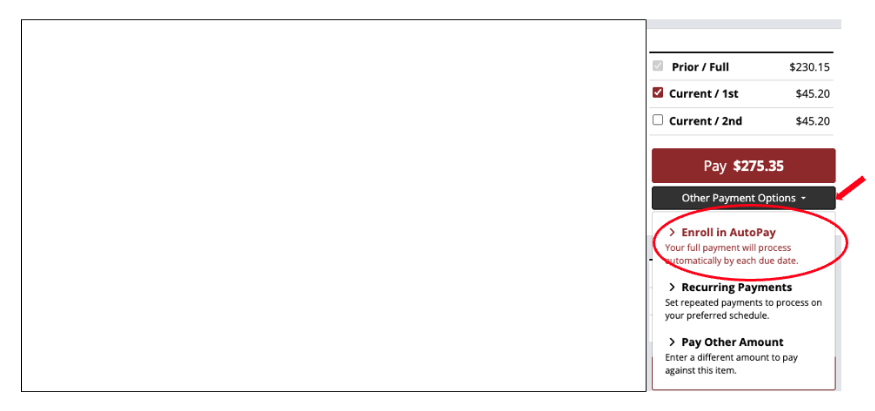
Once you are returned to the search page, locate the parcel or account you want to set up for automated payments. Click the “Other Payment Options” button and select “Enroll in Autopay."
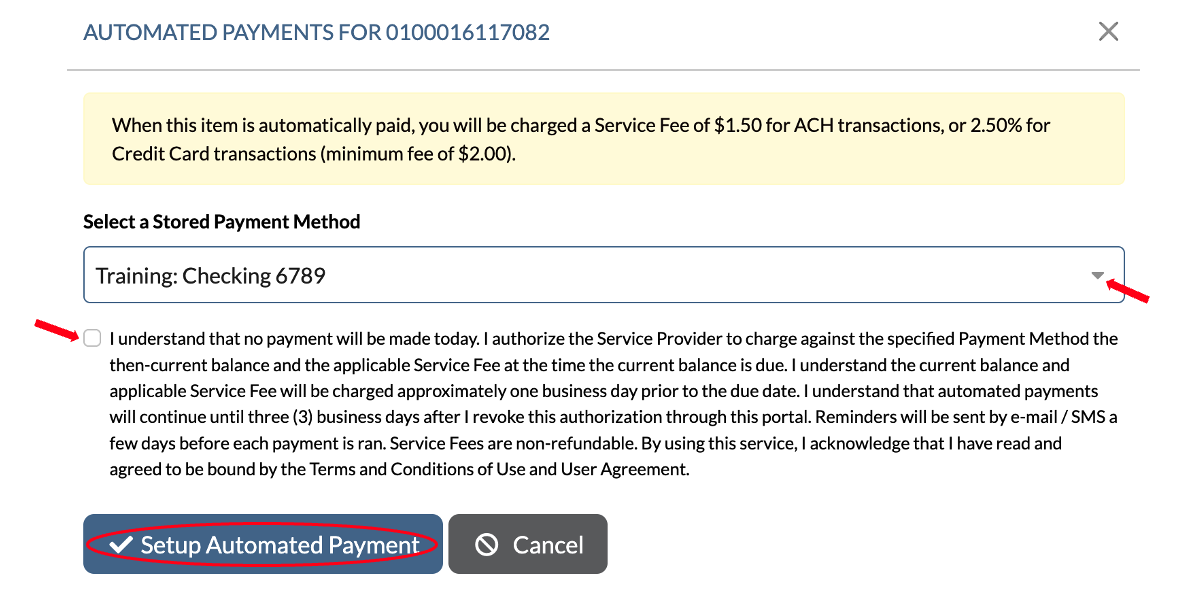
Choose your stored payment method from the dropdown menu, then check the Terms and Conditions/User Agreement box. Finally, complete the setup by clicking the “Setup Automated Payment” button.
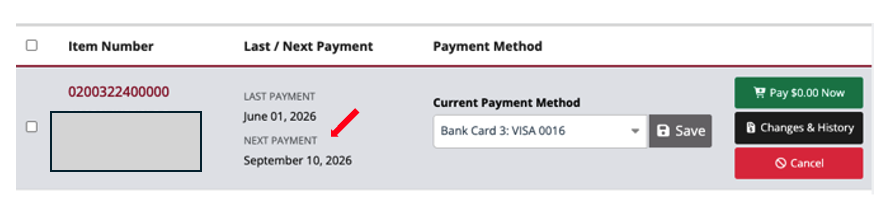
View Your Next Scheduled Autopay Payment
Customers enrolled in Autopay can now easily see the date of their next scheduled payment directly within their Autopay settings.
This provides greater visibility into when the next payment is expected to process and makes it easier to confirm upcoming payment activity.
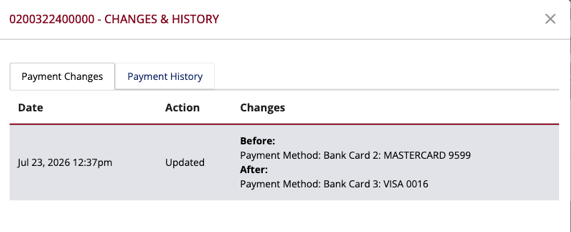
View Autopay History
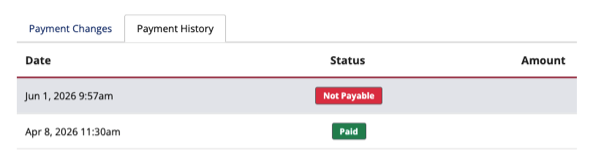
A new Autopay History view is also available, allowing customers to review changes that have been made to their Autopay settings.
This history can help customers track updates to their enrollment and better understand when changes were made.
Was this article helpful?
That’s Great!
Thank you for your feedback
Sorry! We couldn't be helpful
Thank you for your feedback
Feedback sent
We appreciate your effort and will try to fix the article